
How to Design a Website from Scratch: A Complete Step-by-Step Guide
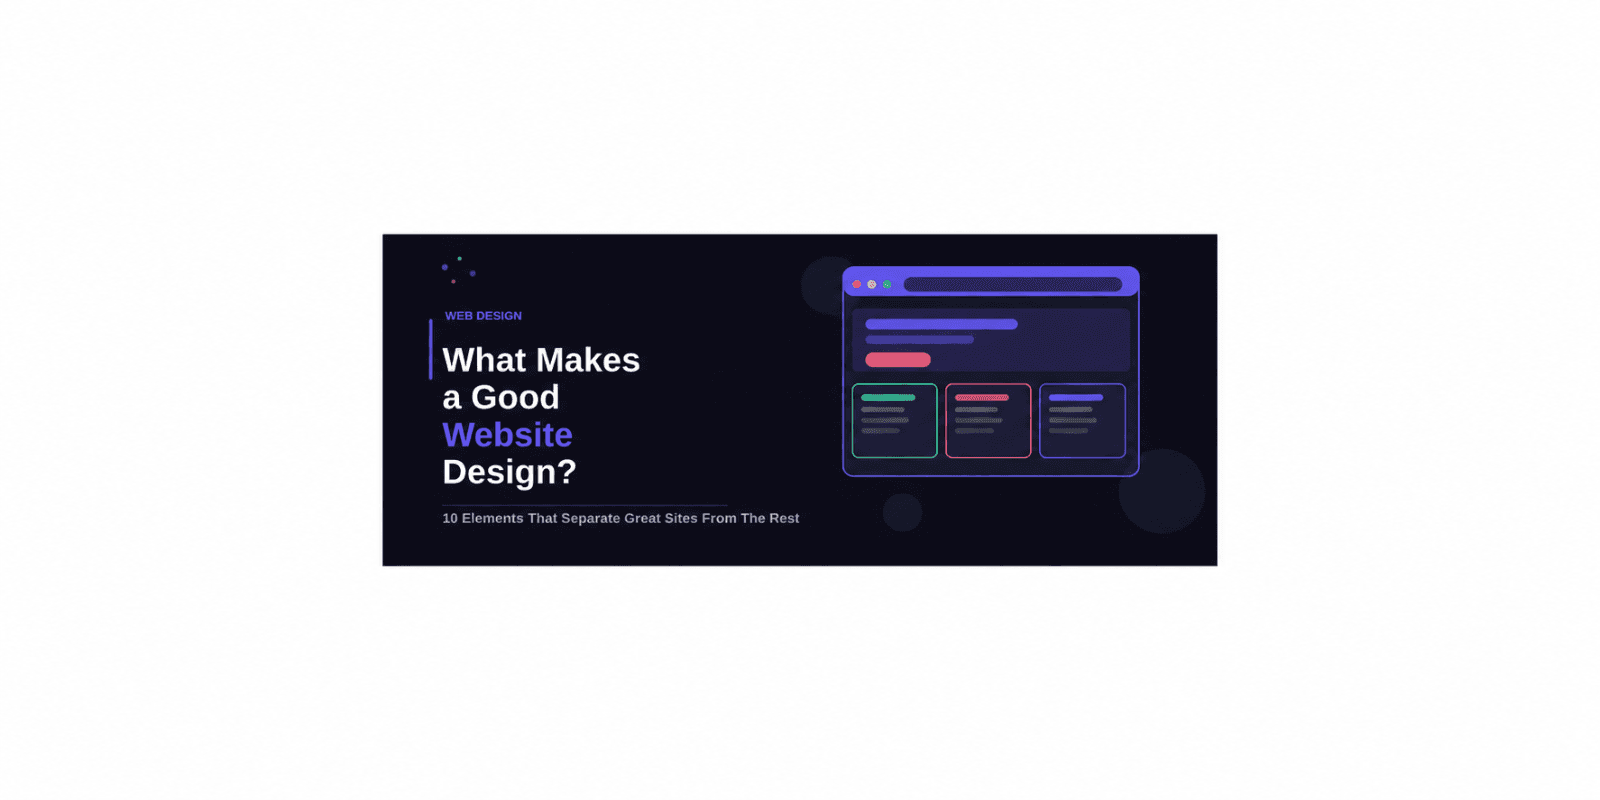
Designing a website from scratch does not have to be overwhelming. Whether you are a business owner, freelancer, or aspiring designer, this complete step-by-step guide walks you through every stage of the process from defining your goals and creating wireframes to choosing fonts, building mockups, optimising for SEO, and finally going live with confidence.
Designing a website from scratch can feel overwhelming, especially if you are doing it for the first time.
Where do you start? What decisions do you need to make? What tools should you use?
This complete guide walks you through every step of the website design process from initial planning all the way through to launching a live site. Whether you are a business owner building your first site, a freelancer taking on a web design project, or a designer looking to refine your process, this guide has everything you need.
Before You Start: Define Your Goals
The biggest mistake people make when designing a website from scratch is jumping straight into visuals before defining the purpose of the site.
Ask yourself these questions before touching any design tool. What is the primary goal of this website to generate leads, sell products, build an audience, or share information? Who is your target audience their age, interests, devices they use, and level of tech-savviness? What action do you want visitors to take when they arrive? Who are your main competitors, and what does their web presence look like? What content will the site contain?
Answering these questions clearly will shape every design decision that follows.
Step 1: Research and Competitive Analysis
Good design begins with research. Before sketching a single wireframe, spend time understanding your industry, your audience, and your competitors.
Start by looking at 5 to 10 competitor websites. Note what they do well and what they do poorly. Identify patterns in layout, navigation, and content structure that are common in your industry. Look at websites outside your industry that you personally admire, and note what makes them effective.
Use tools like SimilarWeb to understand competitor traffic sources, SEMrush or Ahrefs to research keyword strategies, and Google Trends to understand search interest in your niche.
Document your findings. This research will inform your sitemap, content strategy, and visual direction.
Step 2: Define Your Sitemap and Site Structure
A sitemap is a list of all the pages your website will contain and how they relate to each other. Creating a sitemap before you design anything is essential for building a site with clear, logical navigation.
Start with your top-level pages typically Home, About, Services or Products, Blog or Resources, and Contact. Then map out subpages beneath each one. For example, a Services page might branch into individual service pages. A Products page might branch into categories and then individual product pages.
Keep your site architecture as flat as possible. Users should be able to reach any page within three clicks from the homepage. A clear site structure also helps search engines crawl and index your content more effectively.
Step 3: Plan Your Content
Content should drive design, not the other way around. One of the most common mistakes in web design is creating beautiful layouts with placeholder text, then struggling to fit real content into them later.
Before you design, plan the key content for each page. For each page, define the primary headline or value proposition, the key messages or sections, any images, videos, or graphics needed, the call to action, and target keywords for SEO.
If you are writing the copy yourself, draft it before you start designing. If a copywriter is involved, collaborate with them early to align on content structure.
Step 4: Choose Your Design Tools
There are several professional tools used to design websites from scratch. The right choice depends on your role, workflow, and team setup.
Figma is the industry-standard tool for web design. It is browser-based, collaborative, and used by most professional design teams. It is excellent for wireframing, prototyping, and creating high-fidelity mockups. Adobe XD is another popular option with similar capabilities. Sketch is widely used among Mac users for interface design.
If you are also handling development yourself, tools like Webflow let you design and build simultaneously in the browser without writing code. WordPress with a page builder like Elementor or Divi is another common approach for content-heavy sites.
Step 5: Create Wireframes
Wireframes are low-fidelity, black-and-white layouts that define the structure and layout of each page without any visual design. Think of them as a blueprint for your website.
Wireframing serves several purposes. It lets you quickly test different layout approaches, helps stakeholders review structure without getting distracted by colours or fonts, identifies any content or functionality gaps early, and saves significant time by resolving layout questions before visual design begins.
Start with wireframes for your highest-priority pages typically the homepage, a service or product page, and the contact page. Keep wireframes simple. Use rectangles to represent images, lines to represent text, and boxes to represent buttons and CTAs.
Step 6: Define Your Visual Design System
Before designing full page mockups, establish your visual design system. This is the set of visual rules that will apply consistently across the entire website.
Your design system should include the colour palette (primary, secondary, accent, and neutral colours), typography choices (heading font, body font, sizes, and weights), spacing and grid rules (column width, gutters, margins), button styles, form element styles, icon style and library, and image and photography style.
Spend time getting this right. A well-defined design system makes designing the rest of the site faster and ensures visual consistency throughout.
Step 7: Choose Your Colour Palette
Colour is one of the most powerful elements in website design. It influences emotion, builds brand recognition, and guides user attention.
To choose an effective website colour palette, start with your brand's primary colour (if one exists) or choose one that reflects the personality of the brand. Build your palette around that primary colour, adding one or two accent colours and a range of neutral tones for backgrounds and text.
A simple starting palette includes one primary brand colour, one accent colour used sparingly for CTAs and highlights, a dark colour for text, a light colour for backgrounds, and a mid-tone grey for borders and secondary elements.
Test your colours for accessibility using contrast checking tools. Text on any background must meet WCAG AA standards at minimum.
Step 8: Select Your Typography
Typography sets the tone of your website and has a huge impact on readability. For most websites, two fonts are sufficient one for headings and one for body text.
When selecting fonts, consider legibility at small sizes, how the fonts pair together, whether the fonts match the brand personality (serif fonts convey tradition and authority; sans-serif fonts feel modern and clean), and web performance (stick to Google Fonts or system fonts where possible for speed).
Set up a type scale before designing. Define specific sizes and weights for H1, H2, H3, body text, small text, and captions. Consistency in typography across the site creates a polished, professional look.
Step 9: Design High-Fidelity Mockups
With your design system in place, you are now ready to create full visual mockups of each page. Start with the homepage it is usually the most complex page and establishes the visual language for everything else.
Design the desktop version first (typically at 1440px wide), then adapt each page for tablet (768px) and mobile (375px). Pay careful attention to how layouts reflow at smaller screen sizes.
Key sections to design for a homepage typically include the hero section (headline, subheading, CTA, visual), a trust-building section (logos, stats, or short testimonials), a services or product overview, a feature or benefit highlights section, social proof (reviews or case studies), and a final call to action.
Get feedback on your mockups from stakeholders and, ideally, from real users before moving to development.
Step 10: Create a Clickable Prototype
A prototype is an interactive, clickable version of your mockups that simulates how the website will actually work. In Figma, you can link screens together to create realistic navigation flows.
Prototyping allows you to test the user journey before any code is written, present a realistic demo to clients or stakeholders, identify UX problems with navigation or content flow, and gather usability feedback from real users.
Even a basic prototype that connects the key pages of your site will save significant rework during development.
Step 11: Develop the Website
With approved designs in hand, the website moves into development. Depending on the approach, this may mean building custom with HTML, CSS, and JavaScript, using a CMS like WordPress with a custom theme, using a visual development tool like Webflow, or using a website builder like Squarespace or Wix for simpler projects.
During development, ensure the design is implemented pixel-accurately, all interactive states (hover, focus, active) are designed and built, the site is tested on multiple browsers (Chrome, Firefox, Safari, Edge), all forms are functional and send notifications correctly, 301 redirects are set up if replacing an existing site, and Google Analytics and Search Console are connected.
Step 12: Optimise for SEO Before Launch
Before launching, ensure your website is set up for search engine success. On-page SEO that should be in place before launch includes every page having a unique, keyword-optimised title tag (50 to 60 characters) and meta description (150 to 160 characters), every image having descriptive alt text, a proper H1 on every page, clean and descriptive URLs, an XML sitemap generated and ready to submit to Google Search Console, robots.txt configured correctly, and canonical tags in place to avoid duplicate content issues.
Step 13: Test Everything Before Going Live
Before launching, go through a thorough pre-launch checklist. Test all navigation links and ensure none are broken. Test all forms and confirm submissions are received. Test the site on multiple devices (iPhone, Android, iPad, desktop). Test across multiple browsers. Check all images load correctly. Verify page load speeds are acceptable. Test the checkout process if the site has e-commerce. Review all copy for spelling and grammar errors. Confirm SSL certificate is installed (https).
Step 14: Launch and Monitor
Once everything checks out, it is time to go live. After launch, monitor performance closely for the first few weeks.
Set up Google Analytics goals to track conversions. Monitor Core Web Vitals in Google Search Console. Track keyword rankings for your target terms. Review heatmaps and user behaviour data after the first few hundred sessions. Fix any issues that arise quickly.
A website launch is not the end of the process it is the beginning. The most successful websites improve continuously based on real user data.
Final Thoughts: Designing a Website from Scratch
Designing a website from scratch is a significant undertaking, but following a structured process makes it manageable. The key is to plan thoroughly before you design, design before you build, and test before you launch.
With the right process, tools, and attention to user experience, you can create a website that not only looks professional but genuinely works driving traffic, building trust, and converting visitors into customers.
Never miss a post
Subscribe to our RSS feed and every new article lands in your reader automatically — no email, no algorithm.
Works with Feedly, Inoreader, NetNewsWire and any other reader. View raw feed